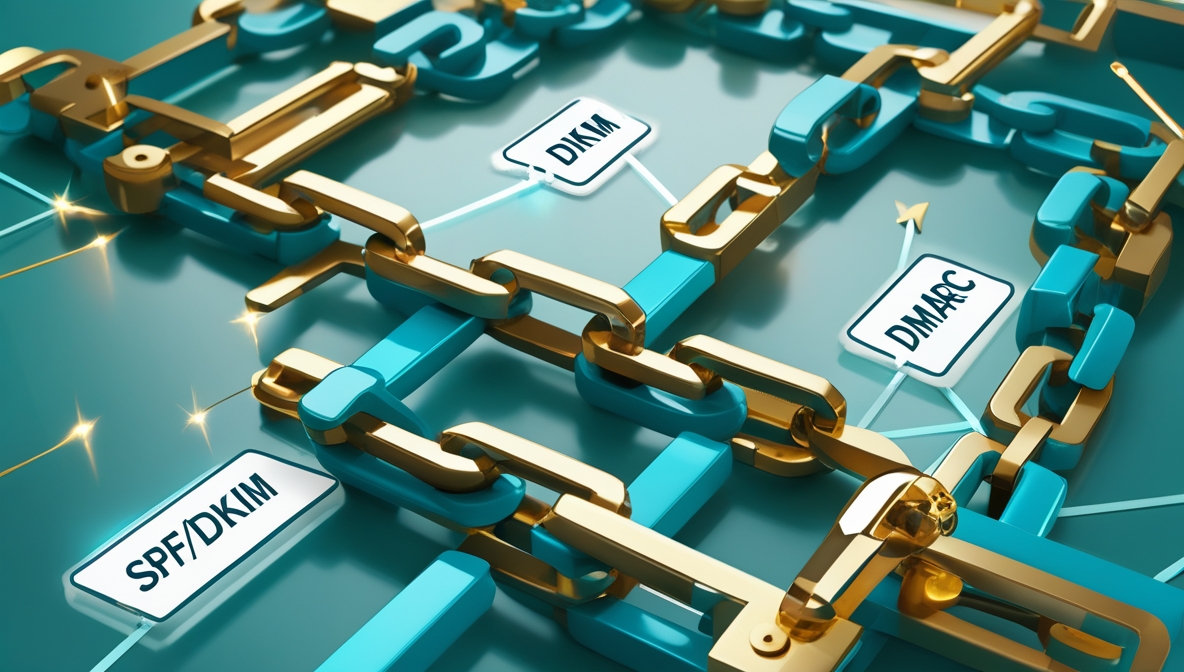
In the rapidly evolving landscape of digital communication, email security has become more critical than ever. Cyberattacks, phishing attempts, and spoofed emails are on the rise, making email authentication protocols indispensable for organizations and individuals alike. In this comprehensive guide, we explore the most essential email authentication protocols—SPF, DKIM, and DMARC—and provide a detailed roadmap on how to implement them effectively to protect your domain, enhance email deliverability, and build recipient trust.
What Are Email Authentication Protocols?
Email authentication protocols are technical methods that allow domain owners to protect their domains from being used in malicious email activities. These protocols verify the origin of emails, ensuring they come from authorized sources. The three primary protocols are:
-
SPF (Sender Policy Framework)
-
DKIM (DomainKeys Identified Mail)
-
DMARC (Domain-based Message Authentication, Reporting, and Conformance)
Each of these protocols plays a distinct role in securing your email infrastructure.
Understanding SPF: Sender Policy Framework
What Is SPF?
SPF allows domain owners to specify which mail servers are permitted to send emails on behalf of their domain. By publishing an SPF record in your DNS (Domain Name System), you can prevent unauthorized sources from sending spoofed emails.
How to Set Up SPF
-
Identify All Sending Servers: List all IP addresses and hostnames that send emails for your domain (e.g., your web server, marketing platforms, CRMs).
-
Create an SPF Record: An SPF record is a TXT record added to your DNS. A typical SPF record looks like this:
ini
<button aria-label="Copier">Copier</button><button>Modifier</button>
v=spf1 ip4:192.0.2.0/24 include:_spf.google.com ~all -
Understand the Mechanisms:
-
v=spf1: Identifies the record as SPF. -
ip4:: Specifies the allowed IP address or range. -
include:: Includes SPF records from third-party services. -
~allor-all: Defines how strict the policy is.~allis soft fail;-allis hard fail.
-
-
Publish to DNS: Add the TXT record to your domain’s DNS settings.
-
Test Your SPF Record: Use tools like MXToolbox or Google's CheckMX to validate your SPF setup.
What Is DKIM and Why It Matters
What Is DKIM?
DKIM provides a cryptographic signature that validates the authenticity of the message content and sender identity. It ensures that the email was not altered in transit and confirms that the domain owner authorized it.
How to Implement DKIM
-
Generate a Key Pair:
-
A public key (published in DNS)
-
A private key (used to sign outgoing messages)
-
-
Publish the Public Key in DNS:
-
Create a TXT record in your DNS using a selector:
<button aria-label="Copier">Copier</button><button>Modifier</button>
selector._domainkey.yourdomain.com -
-
Configure Your Mail Server:
-
Configure the mail server to sign outgoing emails using the private key.
-
Many platforms (like Google Workspace or Microsoft 365) offer built-in DKIM settings.
-
-
Verify DKIM Setup:
-
Use online tools like DKIMCore or Mail-Tester to ensure the signature is valid and correctly aligned.
-
DMARC: Combining SPF and DKIM for Maximum Protection
What Is DMARC?
DMARC builds on SPF and DKIM by providing a policy framework that tells receiving mail servers how to handle messages that fail authentication. It also delivers aggregate and forensic reports, enabling domain owners to monitor potential abuse.
How to Set Up DMARC
-
Create a DMARC Record:
-
Add a TXT record to your DNS with the following syntax:
perl
<button aria-label="Copier">Copier</button><button>Modifier</button>
_dmarc.yourdomain.com TXT "v=DMARC1; p=quarantine; rua=mailto:dmarc-reports@yourdomain.com; ruf=mailto:dmarc-forensics@yourdomain.com; sp=reject; aspf=r;" -
-
Understand the Key Tags:
-
v=DMARC1: Version tag -
p=quarantine|reject|none: Specifies the action (monitor, quarantine, or reject) -
rua: Reporting URI for aggregate data -
ruf: Reporting URI for forensic reports -
aspf: Alignment mode for SPF -
adkim: Alignment mode for DKIM
-
-
Choose the Right Policy:
-
none: Monitor only; does not affect mail flow. -
quarantine: Sends failing emails to spam. -
reject: Blocks the emails outright.
-
-
Monitor and Adjust:
-
Use DMARC analytics tools like DMARCian, Agari, or Postmark to review reports and optimize your policy.
-
BIMI: Taking Email Trust to the Next Level
What Is BIMI?
Brand Indicators for Message Identification (BIMI) is a visual email authentication protocol that allows you to display your brand logo in email clients that support it. It builds on SPF, DKIM, and DMARC.
How to Enable BIMI
-
Ensure Strong DMARC Policy: Your domain must have a
p=quarantineorp=rejectDMARC policy. -
Design a Verified SVG Logo: The logo must meet BIMI specifications and be trademarked.
-
Obtain a VMC (Verified Mark Certificate): Required for Gmail and other major providers.
-
Add a BIMI DNS Record:
cpp
<button aria-label="Copier">Copier</button><button>Modifier</button>
default._bimi.yourdomain.com TXT "v=BIMI1; l=https://yourdomain.com/path-to-logo.svg; a=https://yourdomain.com/vmc.pem" -
Verify BIMI Implementation: Use tools like BIMI Inspector to confirm everything is set correctly.
Why Email Authentication Matters for SEO and Business
Implementing email authentication protocols is not only vital for cybersecurity but also impacts email deliverability, sender reputation, and overall digital brand trust. Major email providers like Google, Microsoft, and Yahoo increasingly prioritize authenticated emails, filtering or blocking unauthenticated messages.
Failing to set up SPF, DKIM, and DMARC correctly can result in:
-
Emails landing in spam or being rejected outright
-
Domain spoofing and phishing attacks
-
Damage to brand credibility and loss of customer trust
Best Practices for Maintaining Email Authentication
-
Regularly Audit DNS Records: Remove outdated or unused records.
-
Monitor DMARC Reports: Continuously assess data for unauthorized sending sources.
-
Rotate DKIM Keys Periodically: This limits exposure if a private key is compromised.
-
Use Subdomains for Third-Party Apps: Isolate third-party mail streams from your main domain.
Recommended Tools for Managing Email Authentication
-
MXToolbox – For SPF, DKIM, and DMARC record validation.
-
Google Postmaster Tools – For analyzing domain reputation.
-
Dmarcian, Valimail, EasyDMARC – For report visualization and management.
-
BIMI Inspector – For checking BIMI implementation.
Conclusion
Email authentication protocols are no longer optional—they're essential. By properly implementing SPF, DKIM, DMARC, and optionally BIMI, you can dramatically reduce the risk of fraud, increase email delivery success, and protect your brand. These technologies work in synergy to form a robust framework that authenticates your emails, informs receivers of your security posture, and strengthens trust in every message you send.


